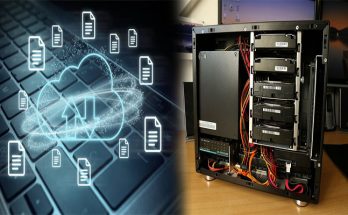
In today’s digital age, our personal data is more vulnerable than ever. Whether it’s important documents, cherished memories, or sensitive information, protecting our digital assets is crucial. One effective solution is setting up a simple home server for data backup and security. In this article, we will explore the benefits of having a home server and how to set one up for optimal data protection.
Why Have a Home Server?
A home server provides a centralized location to store and protect your digital files. Here are a few reasons why having a home server is advantageous:
1. Data Backup
By setting up a home server, you can create automatic backups of your important files. This ensures that your data is safe in case of hardware failure, accidental deletion, or even ransomware attacks. With a home server, you have full control over your backup processes and can quickly restore files when needed.
2. Enhanced Data Security
Unlike cloud-based solutions where your files are stored on remote servers, a home server keeps your data within your control. You can implement strong security measures, such as encryption and firewall protection, to safeguard your files from unauthorized access. This added layer of security gives you peace of mind knowing that your sensitive information is in safe hands.
3. Remote Access
A home server allows you to access your files from anywhere, as long as you have an internet connection. This is particularly beneficial when you need to retrieve a file while on the go or share files with others. Remote accessibility makes your home server a versatile tool for both personal and professional use.
Setting Up a Home Server
Setting up a home server may sound daunting, but it can be done with relative ease. Here are the basic steps to get you started:
1. Choose the Right Hardware
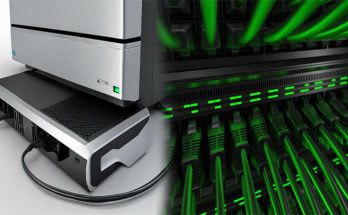
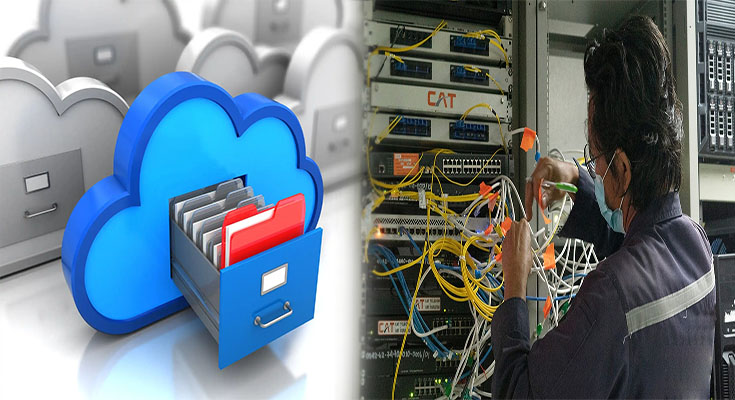
To set up a home server, you’ll need a dedicated computer or a Network-Attached Storage (NAS) device. This hardware will act as the central hub for storing and managing your files. Make sure it has sufficient storage capacity to accommodate your backup needs.
2. Install Server Software
Next, you’ll need to install server software to manage your files and enable remote access. Popular options include FreeNAS, OpenMediaVault, or Windows Home Server. These software solutions provide a user-friendly interface to configure settings and manage your files effectively.
3. Configure File Sharing and Permissions
Once your server software is installed, configure file sharing and permissions. Decide which files and folders you want to make accessible to other devices on your network or remotely. Set up user accounts with individual permissions to ensure proper access control.
4. Implement Security Measures
Security is a vital aspect of any home server setup. Enable encryption to protect your data and implement a strong password policy. Configure firewall settings to block unauthorized access and consider setting up a Virtual Private Network (VPN) for secure remote access.
5. Set Up Automatic Backups
Configure automatic backups to ensure your files are continuously backed up without manual intervention. Schedule regular backups to create multiple copies of your important files, providing an additional layer of protection.
A simple home server is an excellent solution for data backup and security. By setting up a home server, you can have greater control over your files, enhance data security, and easily access your files remotely. With the right hardware and software, coupled with proper security measures, you can safeguard your digital life and gain peace of mind knowing that your data is protected. Invest a little time and effort in setting up a home server, and you’ll reap the benefits of having a secure and reliable backup solution right at your fingertips.